Common Functions
Find the shared tasks and core concepts used across the myosh platform.
This page combines the shared how-to guidance that appears across the myosh platform into one larger reference page.
Navigation
Login
To log into your myosh system, use the User Login button at the top right of the myosh.com home page. You will need email and password login credentials created for you by your myosh project manager or your system administrator. On your first login you will be prompted to create a new password.
Modules
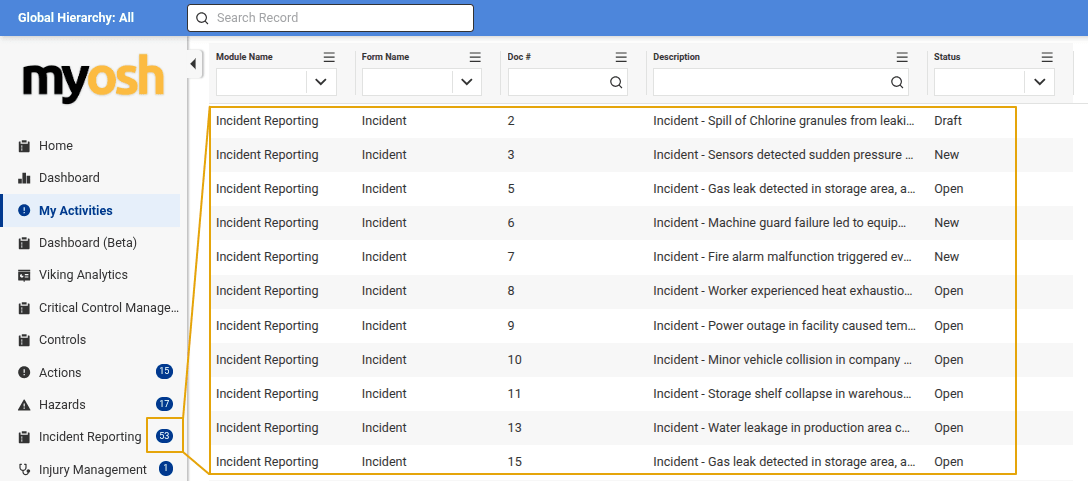
Use the left-hand panel to open modules such as Hazards, Incidents, or Actions. Selecting a module opens its record list so you can create, review, or update records.
Reporting
Reporting is available from the Dashboard tab in the left-hand panel. If your organisation uses Viking Analytics, advanced analytics appears under the Viking Analytics tab in the same panel.
Settings
If you are an administrator, platform configuration is available under the Administration section at the bottom of the left-hand navigation panel.
Adding Attachments
Most forms within myosh include an attachments section so you can upload files, images, or other supporting documents.
Steps to Add an Attachment
- Navigate to the attachments section of the record you are editing or creating.
- Select the
Browsebutton, or a similar option such asAdd AttachmentorUpload Files. - Choose the required file or files from your device.
- If available, drag and drop the files into the upload area instead.
- Confirm that the files appear in the attachments list.
- Save or submit the record as required.
Archiving Records
Records that are no longer needed can often be archived instead of permanently deleted. This keeps them available for historical reference while removing them from active views.
General Archiving Steps
- Open the record that needs to be archived.
- Locate the
Archivebutton, either on the form or in a toolbar menu. - Confirm the action when prompted.
- The record status will usually change to
Archived. - Select
ExitorSaveif needed.
Viewing Archived Records
To view archived records, adjust the filters in the record list. This is commonly done by changing an Archived filter from False to True.
Restoring Archived Records
Some modules provide a Restore function so archived records can be returned to active status.
Customising Column Headings
You can customise the columns shown in most module record lists to display the information most relevant to you.
Steps to Customise Columns
- Open the
Settings,Manage, or gear menu near the column headings. - Review the list of available headings.
- Select the headings you want to display.
- Clear the headings you want to hide.
- The list updates to reflect your choices.
Administrators can often set the default column layout for all users.
Exporting Data
Most myosh modules allow users to export record lists to CSV, PDF, or Excel for reporting or offline use.
General Export Steps
- Open the module record list you want to export.
- Apply filters such as dates or column filters to narrow the data.
- Customise the displayed columns so the export contains the fields you need.
- Select the
Exportbutton near the record list controls. - Choose the file format:
PDF,Excel, orCSV. - Download the generated file.
Important Notes
- The export usually reflects the columns currently displayed in the list view.
- Some modules also support full-record exports.
- In spreadsheet exports, values shown as
#######often just mean the spreadsheet column is too narrow. - Some export types may require admin permissions.
- The Dashboard can export whole tabs or individual widgets.
Linking Records
Many forms allow you to link related records or create new linked records in other modules, such as Actions, Hazards, Incidents, or Risk Assessments.
Finding the Linking Section
Look for sections named Links, Associated Actions, Associated Hazards, Associated Risks, or similar.
Linking an Existing Record
- Choose the
Selectoption. - Search for the relevant record.
- Pick one or more records.
- Select
Add Selected, thenSubmitorSave.
Creating and Linking a New Record
- Choose
Log NeworAdd New. - Complete the form for the new linked record.
- Submit or save the new record.
Managing Linked Records
Linked records usually appear in a table inside the form. You can often open them by double-clicking the row, and a Remove option is usually available if you need to unlink them.
Searching Records
Most modules provide search and filtering tools so you can find records efficiently.
Using Date Filters
Date range filters commonly appear above the record list and offer presets such as All, This Month, Last Three Months, Last Six Months, and This Year.
Using Dropdown Filters
Many column headings open a dropdown filter menu. You can filter by values such as status, assigned person, or type, and clear the filter again when needed.
Using Search Records
A dedicated Search Records function often provides broader searching across terms, modules, authors, and date ranges. Results may open in a separate tab or menu item that can be closed later.
Saving List Views
Saving views lets you reuse a particular combination of filters and columns, such as Open Injury Reports or Overdue Actions.
Saving a View
- Apply the filters and column layout you want.
- Select
Save Current View. - Enter a descriptive name.
- If available and you have permission, choose the option to make the view global.
- Select
Save.
Accessing Saved Views
Saved views are usually available from the View dropdown menu near the top of the record list.
Managing Saved Views
Use Manage Views to rename or delete views you no longer need.
Submitting Records
When working with records in myosh, you usually choose between saving progress and submitting the record to its next workflow step.
Saving a Draft
Use Save or Save and Continue if you need to return later. Draft records are usually marked with a Draft status and may only be visible to the author.
Submitting a Record
Use Submit, Complete, Submit for Sign Off, or the relevant workflow button once the current stage is complete. Submitting usually changes the record status and can trigger notifications.
Workflow Buttons
Available buttons depend on the module and the record status. Common examples include Save, Submit, Investigate, Submit For Sign Off, Complete, Archive, and Re-Open.
Understanding Hierarchy
Hierarchy is used throughout myosh to structure data and control what users can see.
Hierarchy in Records
When creating or editing records, users usually select hierarchy values such as Company, Division, Department, or Site so the record is associated with the correct part of the organisation.
Hierarchy Restrictions
Administrators can apply hierarchy restrictions to users so they only see data for certain parts of the organisation. Restrictions can also affect person fields and competencies. Some forms or fields can be configured to ignore hierarchy restrictions.
Hierarchy Configuration
Hierarchy types and values are defined in the Administration section.
My Activities
My Activities is a personalised list of records that currently require your attention.
Purpose of My Activities
It acts as a central to-do list and brings together relevant items from different modules on the home page or in the dedicated My Activities navigation area.
How Records Appear in My Activities
A record is shown when the user has an active notification badge for that record.